HME Fire Risk Audit user guide
Start here if you need to understand how to use the system. This guide explains the dashboard, audit capture, drafts, review, reports, settings, demo mode, and account tools in plain language.
Showing suggested guide topics.
Use the dashboard to see what is happening
The dashboard is the main operational view. It shows audit volume, high-risk exposure, pending reviews, evidence totals, recent audit records, and the risk profile.
Create a machine audit
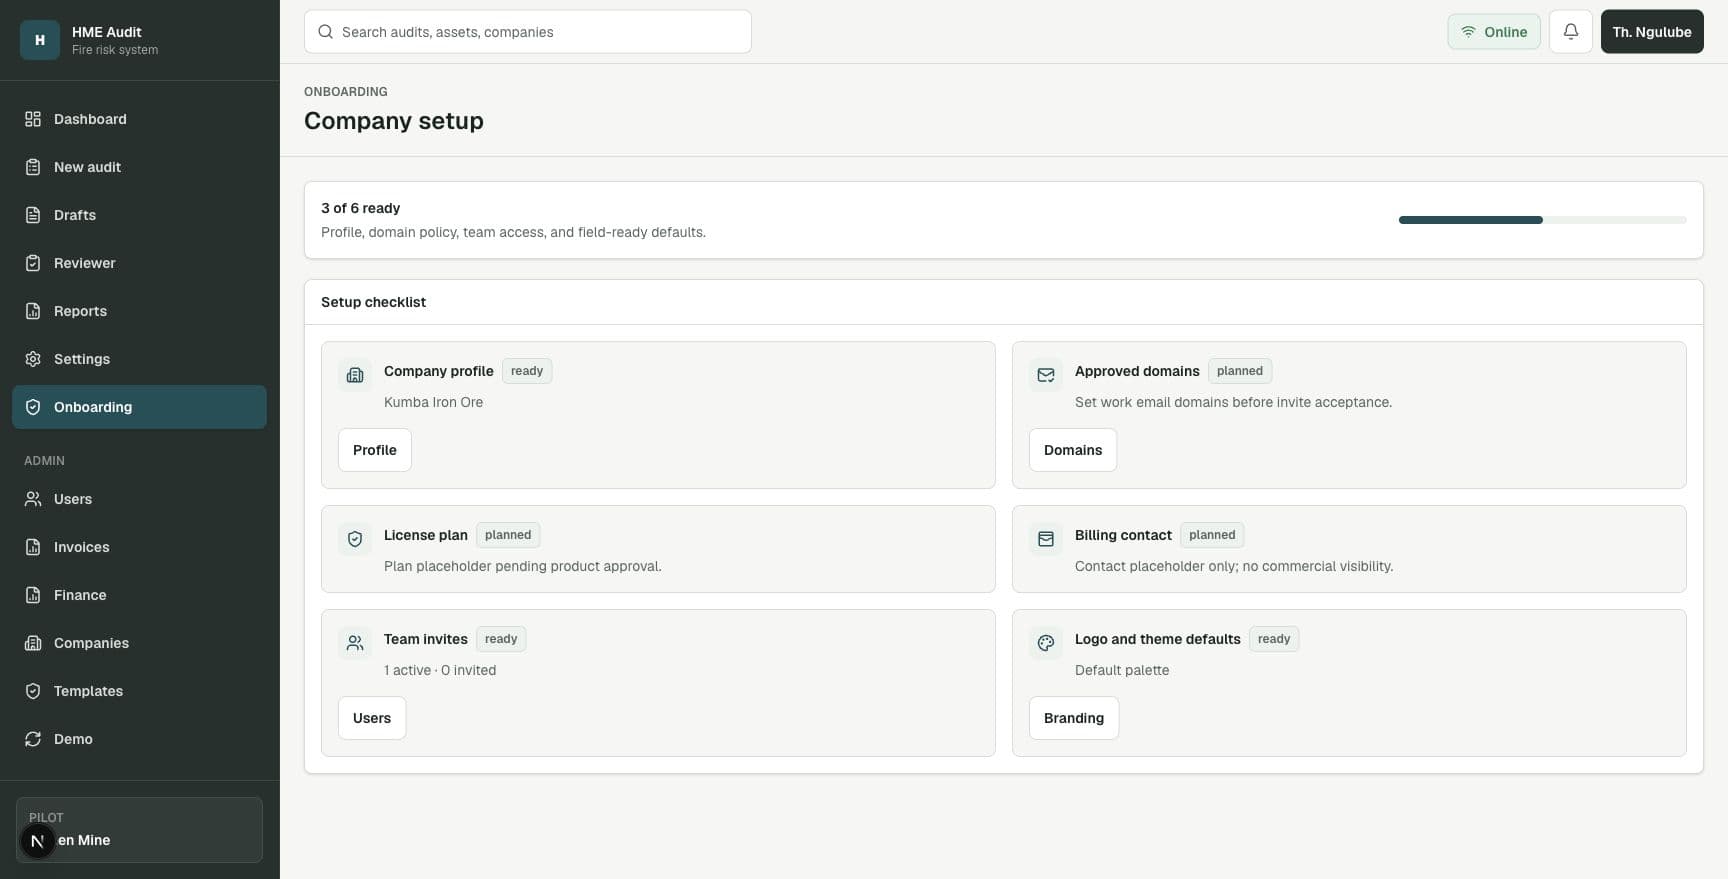
The audit workflow is designed for field users. It breaks the audit into structured sections, captures required fields, stores evidence, and allows progress to be saved before submission.
Use drafts when work is interrupted
Drafts help inspectors keep working when an audit is incomplete, interrupted, or temporarily affected by connection issues.
Review submitted audits
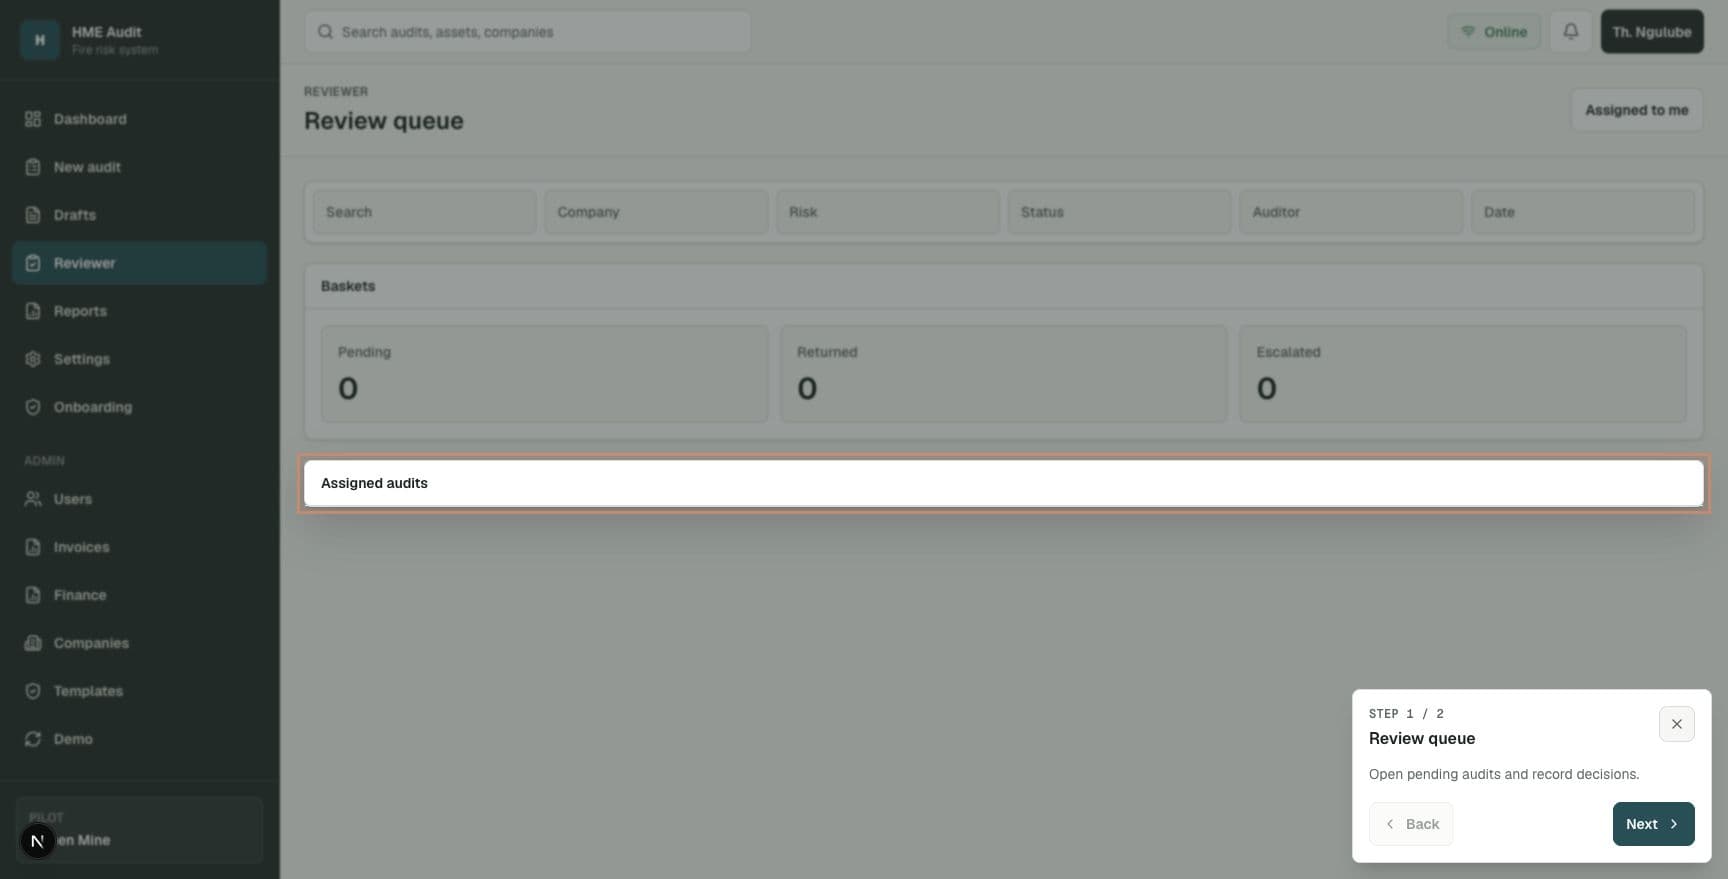
The reviewer workflow separates audit capture from approval. Reviewers check the evidence and comments, then approve, return, or escalate the audit.
Generate reports and exports
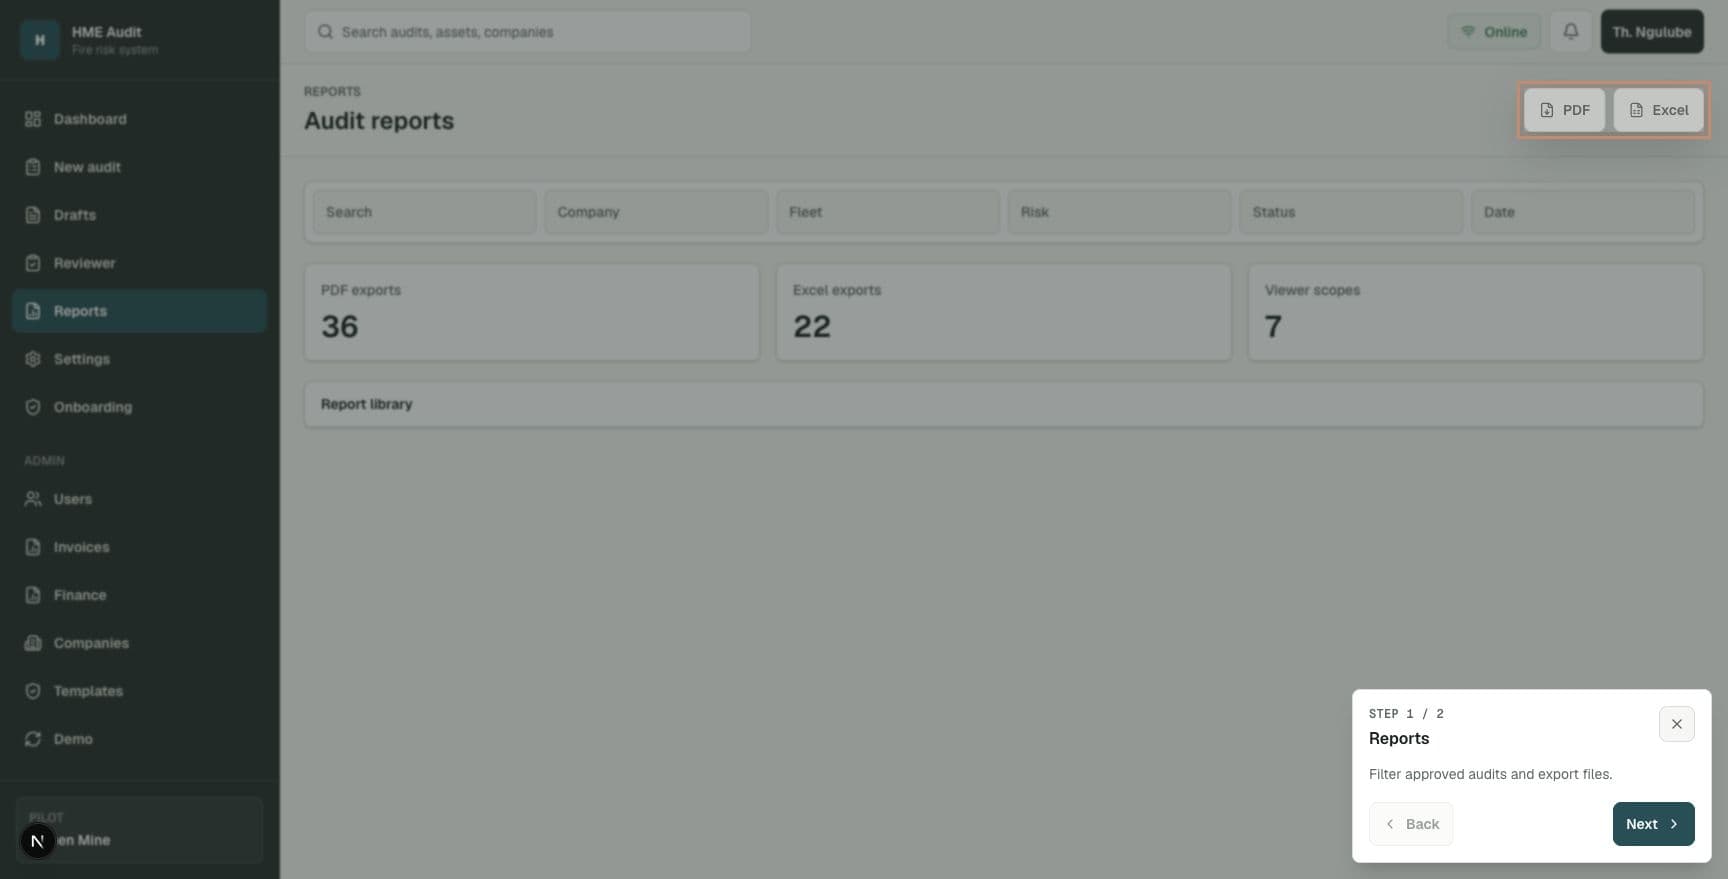
Reports turn audit records into shareable PDF and Excel files. Stored reports are protected so users must have permission before downloading them.
Field audits
Capture
Machine inspections, findings, photos, drafts, and submission.
Review control
Approve
Reviewers can approve, return, or escalate without editing findings.
Audit records
Report
PDF and Excel exports with evidence and download history.
Workspace admin
Manage
Users, settings, demo workspaces, account records, and licensing.
Who uses the system
Inspector
Completes machine audits, records findings, adds photos, saves drafts, and submits work.
Reviewer
Checks submitted audits, leaves review comments, approves, returns, or escalates work.
Viewer
Reads allocated audit records and exports reports without changing findings.
Client admin
Manages the company workspace, users, approved domains, setup, and access.
Finance or owner
Views invoices, usage, payments, subscriptions, agreements, and licensing records.
Platform super admin
Oversees platform support, account setup, access control, and licensing records.
Start here
1. Use the dashboard to see what is happening
The dashboard is the main operational view. It shows audit volume, high-risk exposure, pending reviews, evidence totals, recent audit records, and the risk profile.
Steps
- 1Open the dashboard after signing in.
- 2Check the top metrics for audit count, high-risk items, pending review work, and evidence photos.
- 3Use the audit list to open a record and check its current status.
- 4Use the risk profile to quickly see whether the workspace is carrying low, medium, high, or extreme-high risk items.
- 5Start a new audit from the dashboard when your role allows audit creation.
Helpful notes
- •A client can use this page during a pilot meeting to understand audit activity at a glance.
- •The dashboard should be the first place managers look before asking inspectors or reviewers for updates.
Inspector workflow
2. Create a machine audit
The audit workflow is designed for field users. It breaks the audit into structured sections, captures required fields, stores evidence, and allows progress to be saved before submission.
Steps
- 1Open New audit.
- 2Enter the company, fleet, and machine details.
- 3Work through the audit sections one by one.
- 4Record the rating, observation, finding, or action for each applicable item.
- 5Add photos for findings so the record has visual evidence.
- 6Save the audit as a draft if you are not ready to submit.
- 7Submit only when all required fields are complete.
Helpful notes
- •If an item does not apply, write that clearly instead of leaving it blank.
- •Photos should show both good and bad practice so machine deterioration can be tracked over time.
Field continuity
3. Use drafts when work is interrupted
Drafts help inspectors keep working when an audit is incomplete, interrupted, or temporarily affected by connection issues.
Steps
- 1Save an audit before leaving the page or moving away from a machine.
- 2Open Drafts to find saved work.
- 3Resume the correct draft and continue from the saved audit data.
- 4Retry queued work when the device is back online.
- 5Submit the audit when the record is complete.
Helpful notes
- •Drafts reduce the chance of losing field progress.
- •Use a stable connection for final submission until field testing has been completed.
Workflow available in the system
This topic uses live product controls when the user has the correct role.
Quality control
4. Review submitted audits
The reviewer workflow separates audit capture from approval. Reviewers check the evidence and comments, then approve, return, or escalate the audit.
Steps
- 1Open Reviewer.
- 2Select a submitted audit from the review queue.
- 3Read the machine details, findings, risk ratings, observations, and evidence.
- 4Add reviewer comments.
- 5Approve the audit when it is acceptable.
- 6Return the audit to the inspector when corrections are needed.
- 7Escalate when the audit needs higher attention.
Helpful notes
- •Reviewers should not change the inspector findings directly.
- •Returned audits keep a clearer audit trail because corrections happen through the correction workflow.
Client evidence
5. Generate reports and exports
Reports turn audit records into shareable PDF and Excel files. Stored reports are protected so users must have permission before downloading them.
Steps
- 1Open Reports.
- 2Find the audit record that needs to be exported.
- 3Open the report detail page.
- 4Generate or download the PDF report.
- 5Generate or download the Excel export when spreadsheet analysis is needed.
- 6Use stored report files when you need to reopen previously generated exports.
Helpful notes
- •Demo reports are watermarked so they are not mistaken for legal compliance records.
- •Before live legal use, confirm report storage and retention settings with the administrator.
Workspace setup
6. Set up the company workspace
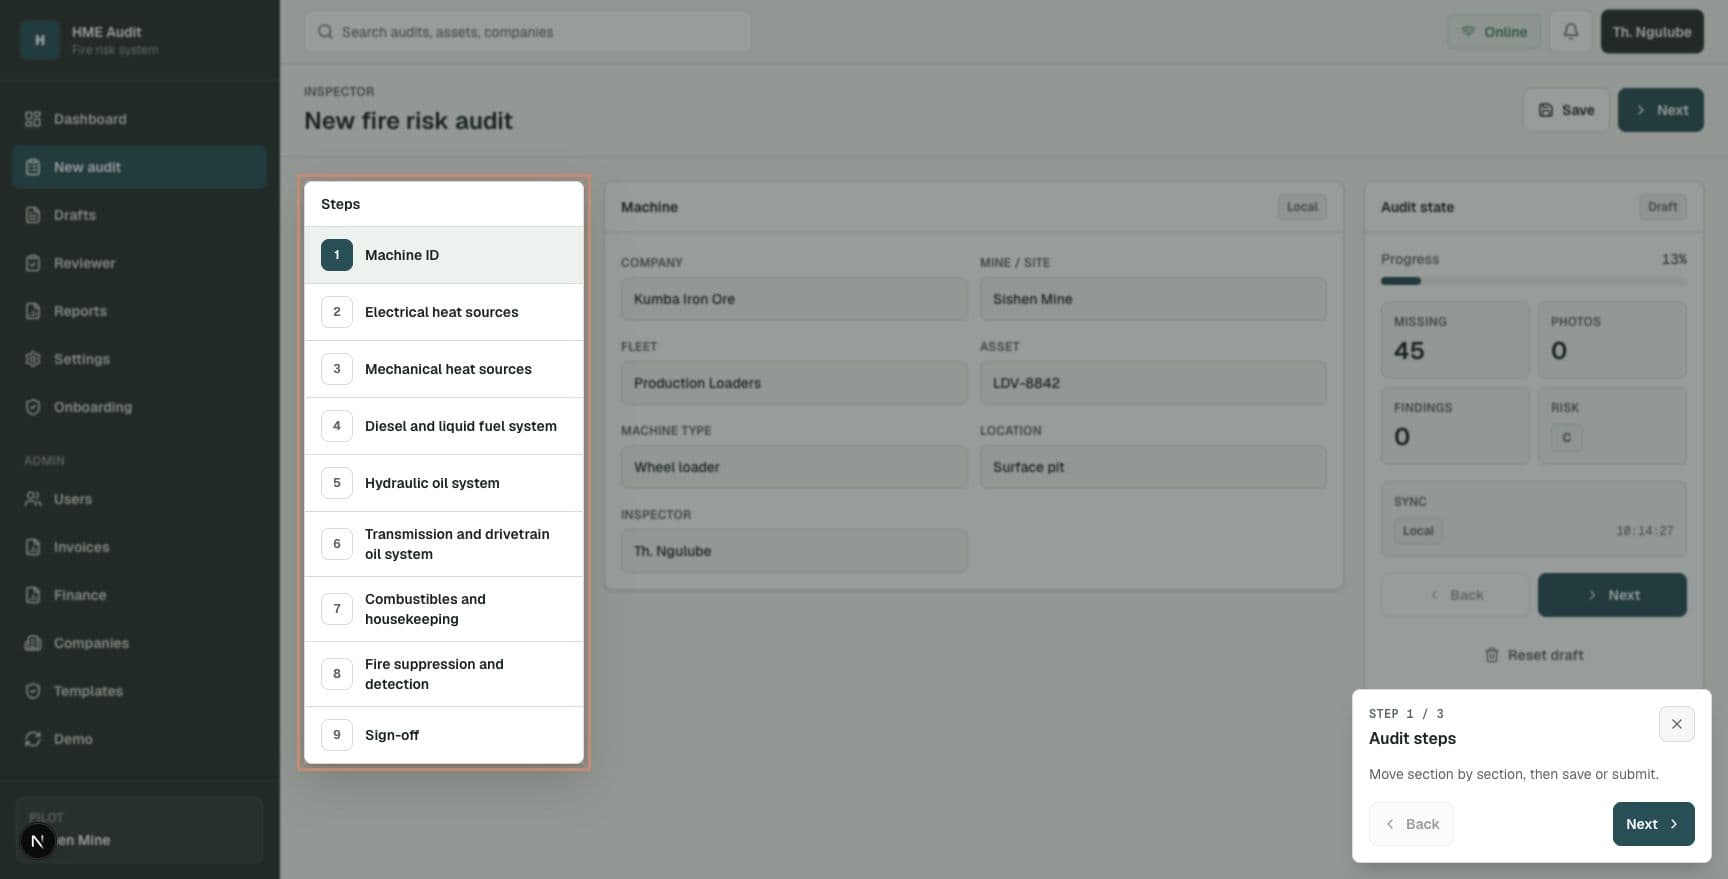
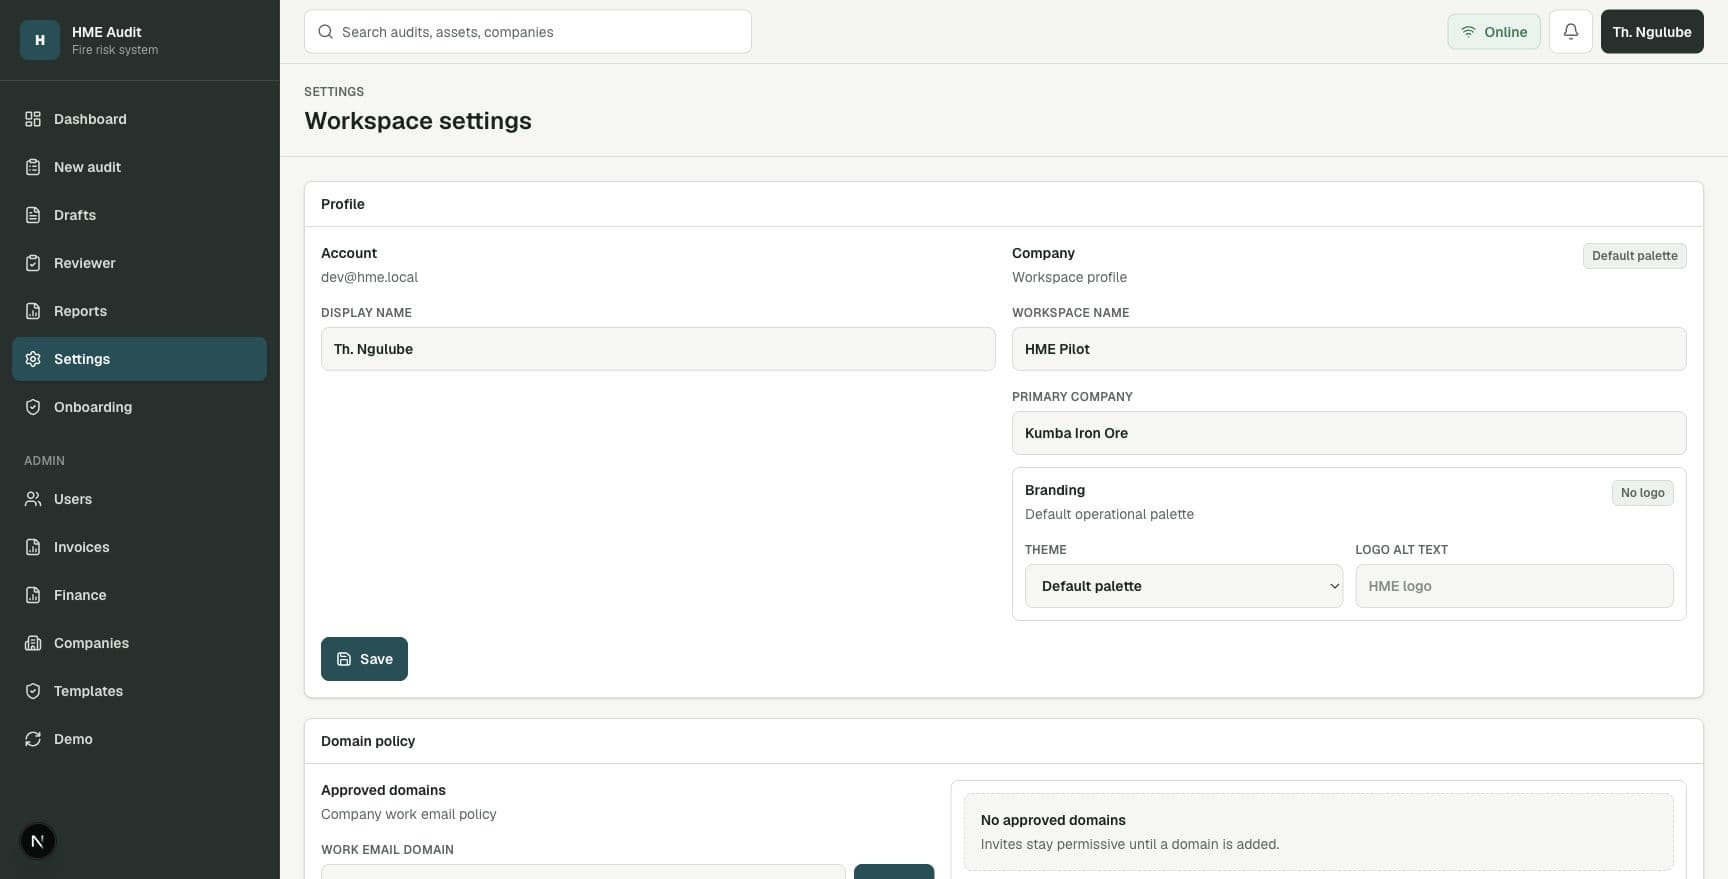
Settings are where workspace identity, team setup, approved company email domains, branding, and future licensing controls live.
Steps
- 1Open Settings.
- 2Confirm the account and company profile details.
- 3Add approved company email domains so workspaces can avoid personal email signups.
- 4Open Users to invite team members when your role allows it.
- 5Use Onboarding to complete company setup before normal operations.
- 6Use branding settings for report identity and future company theme controls.
Helpful notes
- •Company users should ideally use work email addresses for a professional, controlled workspace.
- •The onboarding page helps client admins complete setup before entering day-to-day operations.
Safe testing
7. Try the demo without touching real records
Demo mode is intended for prospects, testers, and training. It creates isolated data so testers can explore without affecting real client workspaces.
Steps
- 1Open the login page.
- 2Choose Try demo when demo mode is available.
- 3Explore the dashboard, audit records, review flow, reports, and settings using simulated data.
- 4Reset the demo workspace when you need a fresh environment.
- 5Use separate demo sessions for separate testers.
Helpful notes
- •Demo data should stay inside demo accounts only.
- •Normal accounts should not contain simulated audit records.
Workflow available in the system
This topic uses live product controls when the user has the correct role.
Account workflow
8. Use account tools for licensing and billing
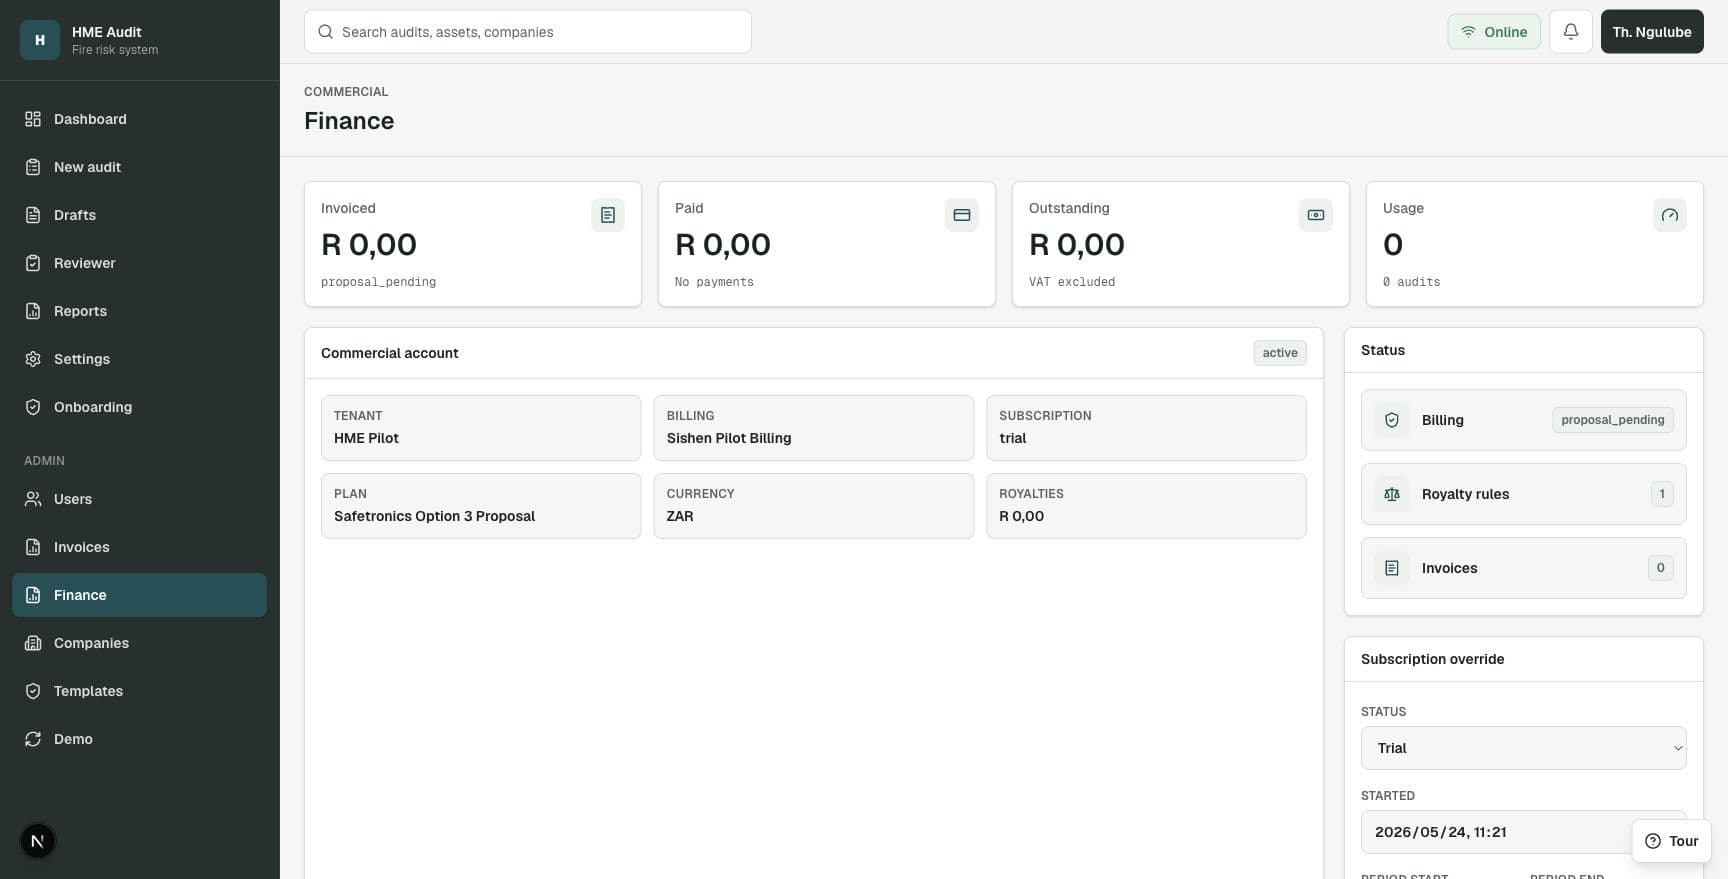
The account area supports subscription status, included usage, overages, active machines, archived machines, invoices, payments, and agreements.
Steps
- 1Open Finance when your role allows billing access.
- 2Review subscription and billing-account status.
- 3Check usage records for audits and machines.
- 4Generate invoice drafts for billing periods.
- 5Open invoice pages to review line items, totals, payment status, and receipts.
- 6Use agreement areas to track licensing and account obligations.
Helpful notes
- •This section is sensitive and should only be visible to approved finance, owner, or platform roles.
- •Confirm payment setup with the administrator before collecting live payments.
What is available now
Audit workflow
Capture, drafts, review, correction, approval, and exports are implemented.
Access control
Roles and permissions separate inspectors, reviewers, viewers, admins, finance, and platform owners.
Reports
PDF and Excel exports, controlled downloads, and report history are available.
Account tools
Invoices, payments, subscriptions, agreements, and licensing controls are available.
Workspace setup
Settings, approved domains, onboarding, team invites, and branding foundations are in place.
Evidence controls
Evidence and reports are permission-controlled and retained with a clear activity history.
Before live rollout
Final setup still matters.
- The local system is close to pilot-ready for controlled testing.
- Final sign-in and invite flows must be verified before real users are onboarded.
- Evidence and report retention settings must be confirmed before live legal record use.
- Email delivery must be verified for invites, password recovery, and workflow notifications.
- Payment collection must be approved and tested before live billing starts.
- Real-device mobile, camera, field, and low-connectivity QA must be completed before full production use.